
Stargate Finance enables Beldex users to move the OFT representation of BDX on LayerZero seamlessly across multiple blockchain networks. This basically means that users can now move BDX across supported chains and access dApps on those networks.
Users can perform cross-chain swaps of BDX between networks such as BNB Smart Chain, Ethereum, Solana, Arbitrum, and Base at a 1:1 rate without liquidity fragmentation. This unified approach allows faster, cheaper, and more modular value transfers compared to traditional bridges, making cross-chain activity straightforward and reliable for everyday use.
For Beldex users, this creates a flexible environment where cross-chain swaps can be completed with ease. You can perform:
- BDX (BNB Smart Chain) → BDX (Ethereum)
- BDX (Ethereum) → BDX (Solana)
Important: Verify the Contract Address
Always verify the contract address before you interact with the asset/platform.
Ethereum
Contract:
0x6ad12E761b438beA3EA09F6C6266556Bb24C2181
BNB Smart Chain
Contract:
0x6ad12E761b438beA3EA09F6C6266556Bb24C2181
Solana
Contract:
CP4w2B3og2TaFUpye1kr8pdeJwwahtESKppZnffN9n9d
Base
Contract:
0x6ad12E761b438beA3EA09F6C6266556Bb24C2181
Arbitrum
Contract:
0x6ad12E761b438beA3EA09F6C6266556Bb24C2181
To help you get started, we’ll guide you through a step-by-step process on how to swap BDX on Stargate, ensuring you understand the process clearly from connecting your wallet to confirming your final balance.
This guide assumes you already hold the BDX-BSC token, the BEP20 representation on the BNB Smart Chain.
If you don’t have BDX-BSC, visit bridge.beldex.io to swap your native BDX for BDX-BSC.
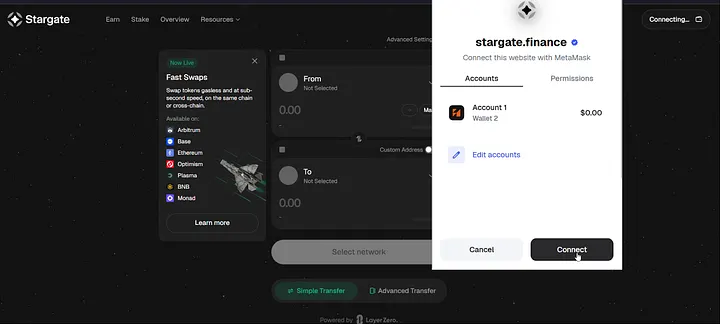
Step 1: Connect Your Wallet
Visit the Stargate Finance website and click Connect Wallet. You’ll see multiple wallet options such as MetaMask, Coinbase Wallet, WalletConnect, and others.
In this guide, we’ll be using the MetaMask wallet.
Visit https://stargate.finance/.
Connect your wallet. Once connected, your wallet is now linked to Stargate.
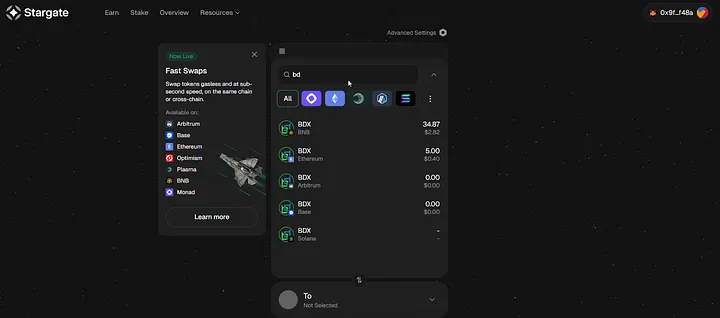
Step 2: Select Asset and Source Network
After connecting, use the search bar to choose Beldex (BDX).
Now, select the blockchain network from the list of chains such as BNB Smart Chain, Ethereum, Base, Arbitrum, Solana, and more.
You need to select the network where you currently hold your balance.
For example, if your BDX is on BNB Smart Chain and you want to transfer it to Ethereum, select BNB Smart Chain as your Source network.
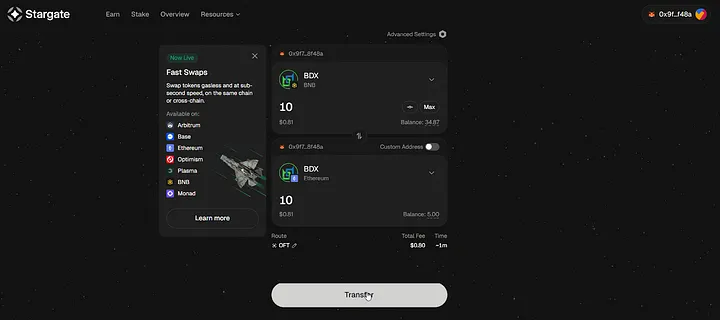
Step 3: Enter the Amount & Choose Your Destination Network
Then select BDX from the network you want to move the assets to, i.e., Ethereum in this case.
Now enter the amount of tokens you want to transfer. Ensure you have gas fees to execute the transfer. In our example, the source network is BNB Smart Chain, so you should have BNB in your wallet to cover the gas fee.
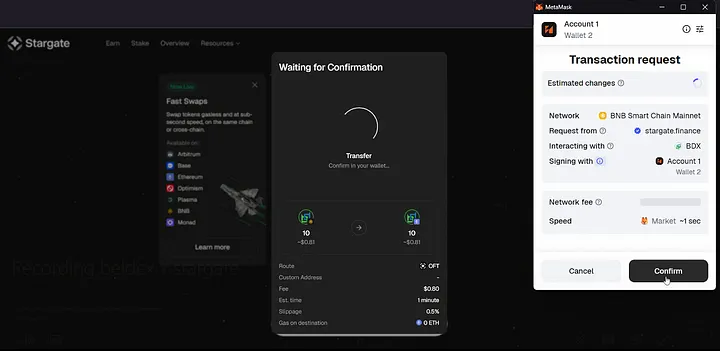
Step 4: Approve the Transfer in MetaMask
Now, click Transfer to initiate the process. A pop-up will appear requesting you to confirm the transaction. Check the details and click Confirm.
Wait for the transaction to be processed. Once the transaction is completed, you will get a confirmation message.
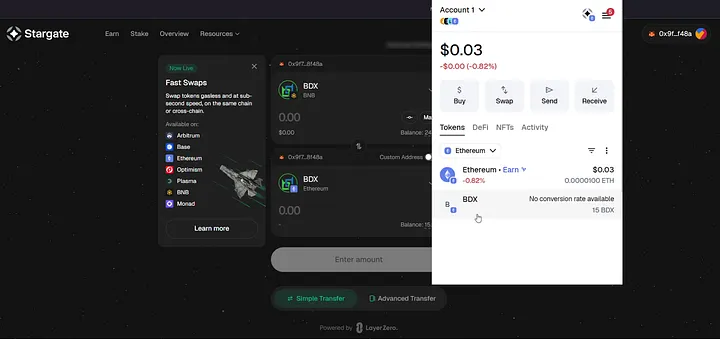
Step 5: Verify the Balance in Your Wallet
After completion, open your MetaMask wallet to verify whether the funds have arrived.
Here is a detailed video guide on how to swap BDX from BNB Smart Chain to the Ethereum chain.
Swap BDX from @BNBCHAIN to @ethereum chain in just a few simple steps on @StargateFinance. Watch the step-by-step guide here 👇 pic.twitter.com/Fj1ncoSZ6P
— Beldex.bdx (@BeldexCoin) December 18, 2025
The steps remain the same across all chains. For Solana transfers, you simply need to connect a Solflare wallet to initiate the transaction.
Here is a detailed video guide on how to swap BDX from BNB Smart Chain to the Solana chain.
Swap $BDX from @BNBCHAIN to @solana chain in just a few simple steps on @StargateFinance. Watch the step-by-step guide here 👇 pic.twitter.com/anLbfiyUql
— Beldex.bdx (@BeldexCoin) December 18, 2025
Important Note: Adding Tokens Manually in MetaMask
If your new token doesn’t show up, follow these steps to add it manually:
- Open your MetaMask wallet.
- Scroll down and click Import Tokens (under the three dots icon).
- Select the correct network.
- Click Custom Token.
- Paste the token contract address of the asset you transferred.
- Click Next, then Add Token.
Your token will now appear in your wallet.
By following these simple steps, you can seamlessly bridge your assets across different blockchain networks using Stargate. The process is fast, secure, and efficient, making cross-chain transfers straightforward and reliable.